


Using Images and Titles
Once you have understood the basics of multi-track editing, you can start to use title sequences, image sequences and can overlay information, such as locations and names on-top of your video clips. These skills provide quick and simple ways of communicating information to your audience and will make your video look more professional.
Although they look different on screen, images and titles are similar in that they:- are added to projects in similar ways
- often contain transparency elements
- introduce ideas and information that may not be included in the video clips
Licensing and adding slate images
If you make a lot of films and documentaries, it is a good idea to have a "slate", a standard image which you place (generally) at the end of your film to say who made it. You may also use the names/logos of any other organisations who have helped you.
It is also at this stage that you would state the licence under which you are publishing your video. If you want your video to travel far and wide, the best thing to do is use a Creative Commons licence. There is a lot of information about these licences on-line.Hands on - The Ken Burns effect
The Ken Burns effect is a panning and zooming effect used on still images (stills). It breathes life into them so that they can be used like video clips. To create this effect:
Choose a photo relevant to the interview you are working with. Make sure it is bigger than the screen size of your video/project. For this 720 pixel wide video, the picture must be around 1000 pixels wide.
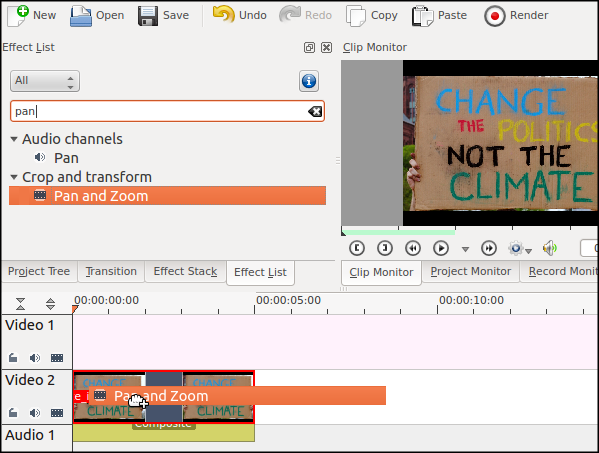
Add the picture to your project, and then to the timeline. Search for the Pan and Zoom effect in your Effects List. Drag the effect onto the image clip in the timeline.
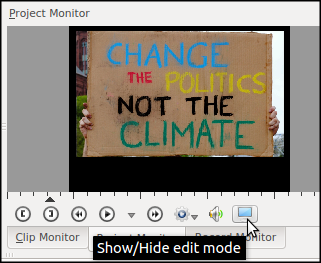
 Under the Project Monitor click on Show / Hide edit mode button to show edit mode.
The screen should now show a yellow frame around the image in the Project Monitor and there should be some options in the Effects Stack.
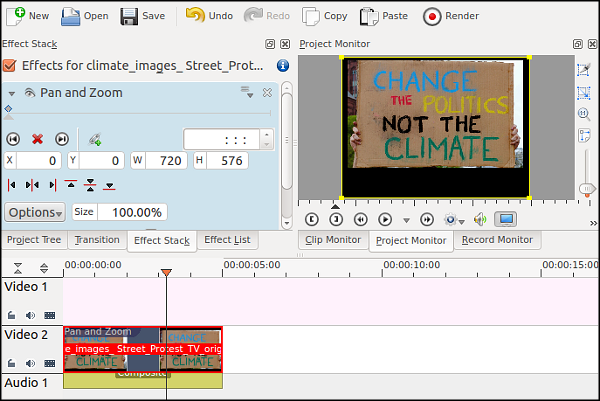
Move the zoom slider (to the right of the Project Monitor) down until you can see space around the video.
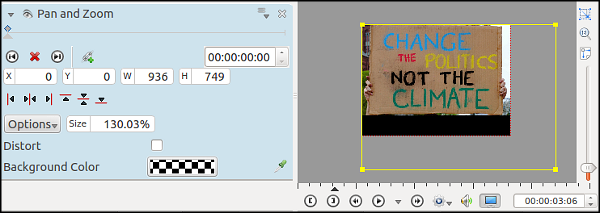
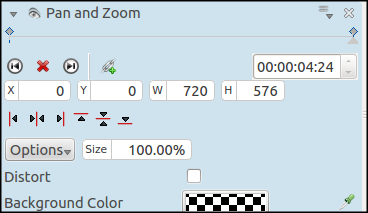
Make sure that the keyframe in your Effects Stack is set to 00:00 and change the Size of the image to be 130%. You will see that the yellow frame in the edit mode of the Project Monitor has expanded:
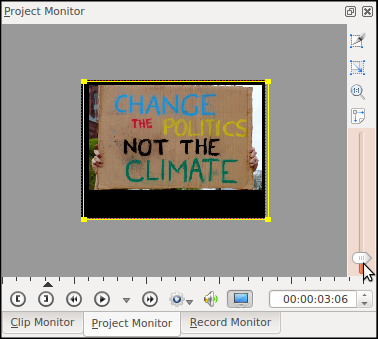
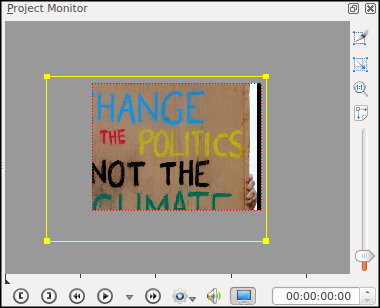
Drag the yellow frame so you can only see the top right of the image.
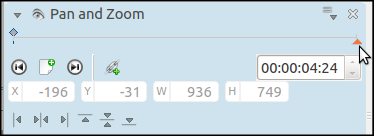
Now move the keyframe slider in the Effects Stack all the way to the right.
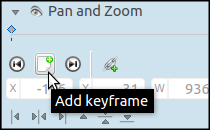
Click the Add keyframe button.
Next, change the Size, the X & Y settings, to match those in the screenshot below (In short centring the still image).
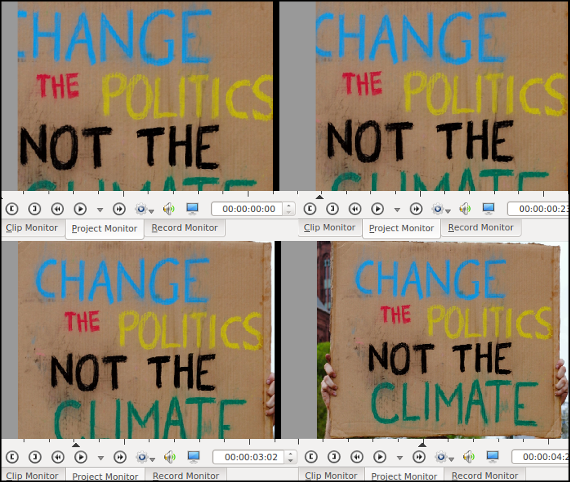
If you play the still back on the Project Monitor from start to finish you should see the image move. It zooms out and moves up to the right, revealing more of the image as the video plays.
You can use the same technique to zoom in and out and move images in many ways, creating beautiful video sequences from otherwise dull still images. Pan and Zoom is also useful for creating stylish opening sequences or credits.
Extra Step
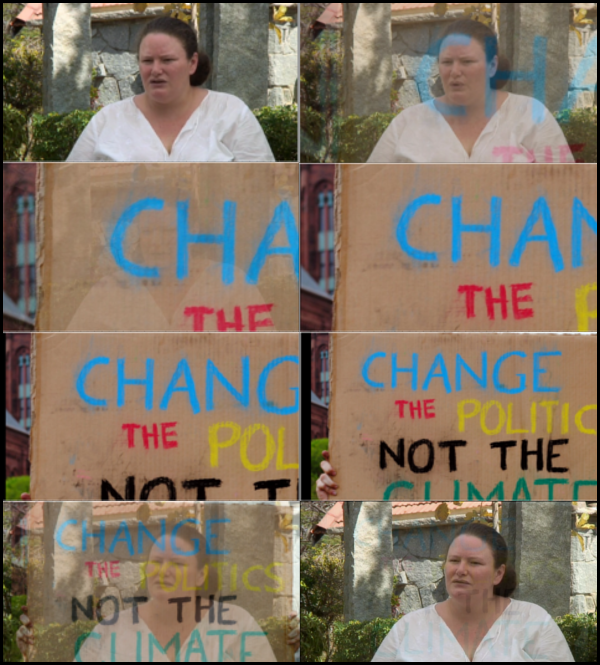
Try using your image as an cutaway and combining the ken burns effect with a Dissolve Transition. In your timeline it will look like this:

And in your Project Monitor it will look like this:
Hands on: identifying a speaker
In this task, you will simply identify an interviewee using a title, showing their name and position/organisation for a few seconds as they start speaking. It is quick and simple, and so focus remains on their message.
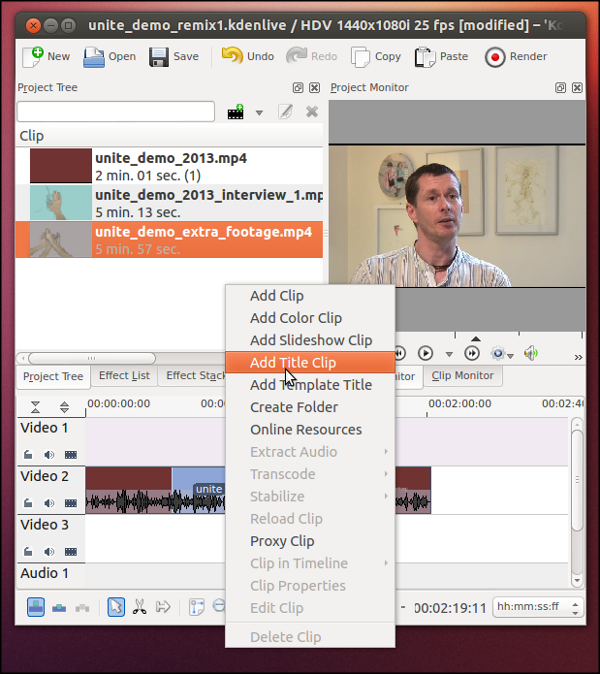
First, right click in your Project Tree and select Add Title Clip
You will now see the Title Clip editor window.
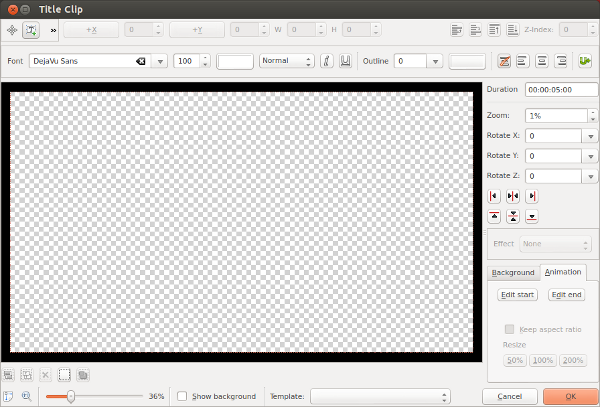
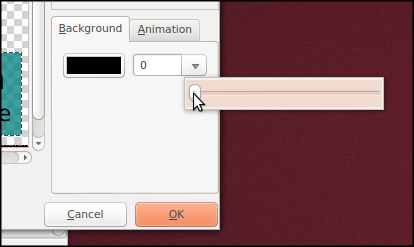
If you see a grey and white squares, this means that the background of the slide is transparent, which is correct for this task because we will need to see the video footage beneath the title. If you do not see transparency, you need to change the opacity of the Background to zero.
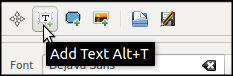
Next, create your text by clicking on the T button. If you do not see all the buttons displayed in the image below, try expanding the title editor window to full screen.
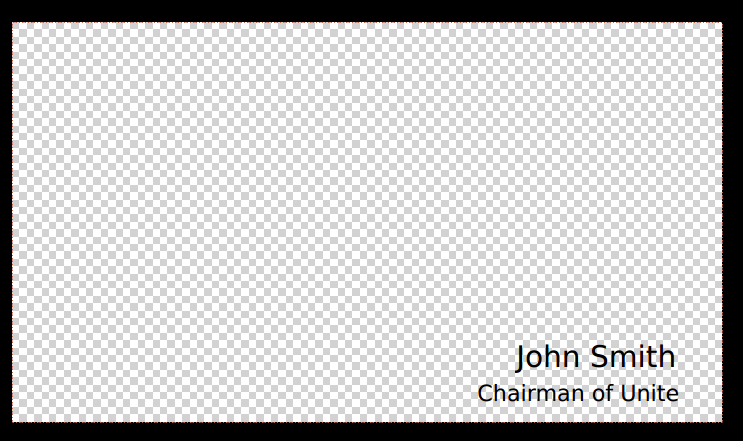
Click somewhere on the transparent are and type the name of your interviewee - there may not be a spell checker so proof read things carefully.
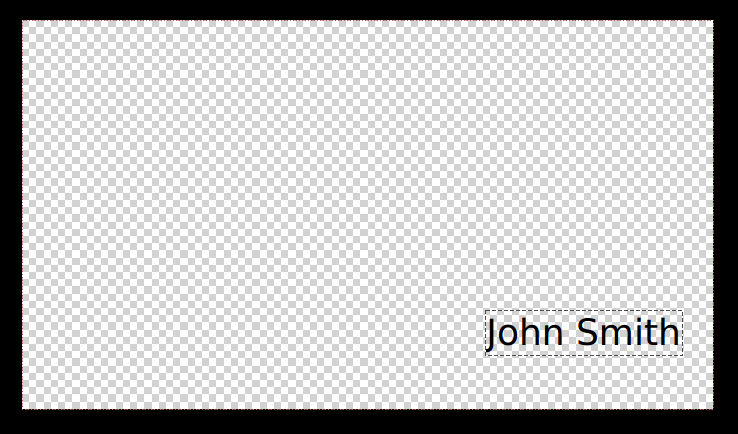
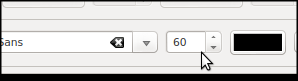
You can adjust the size and colour of the text using the menus, and move it by drag and drop. Use a new text box (by clicking T again) for each new line or phrase.
Next, to improve the visibility and style, add a shadow to sit behind the text.
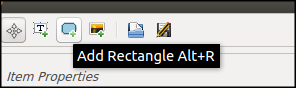
You can do this by clicking the Add Rectangle tool.
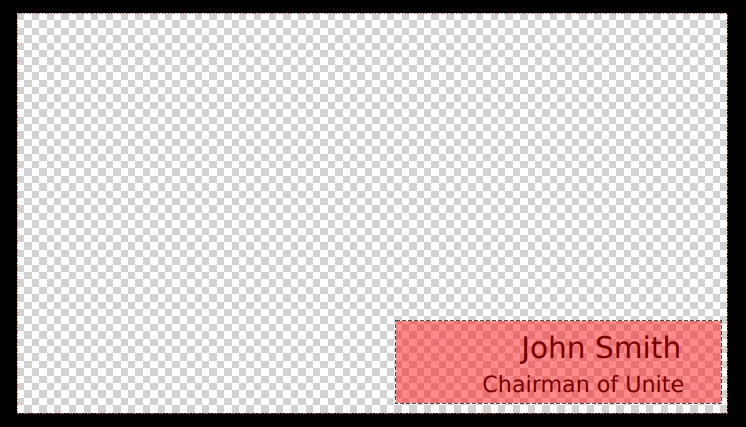
The shadow will be added in whichever colour was used previously. You can change this to something more appropriate and adjust the opacity, by using the Select Colour dialogue.
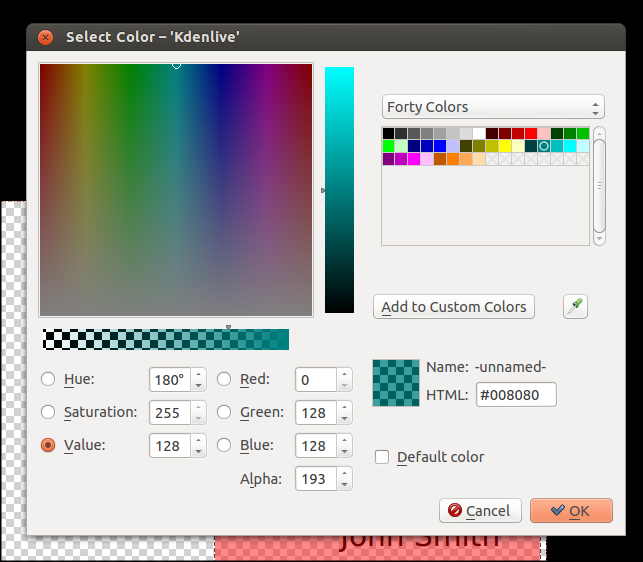
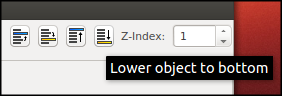
You may also need to set the shadow to sit below your text, rather than above it. You can click the Lower object to bottom button to do this.
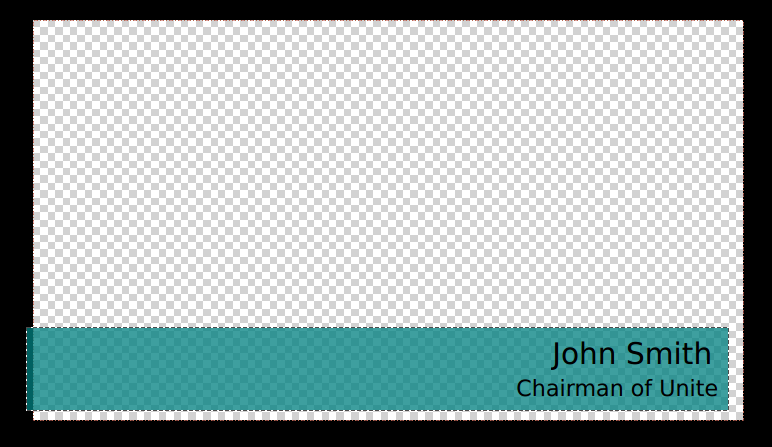
Play around with the size of your shadow to find a style that you like. You should use the same layout for all similar titles in your video
Once you are happy, click save. You may need to re-open the Title Clip editor window to adjust and save several times. When you are happy with your title clip, add it to your video by dragging it from the Project Tree into a track above your video clip (not below).
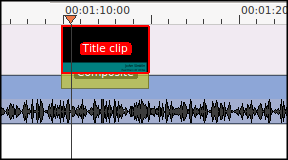
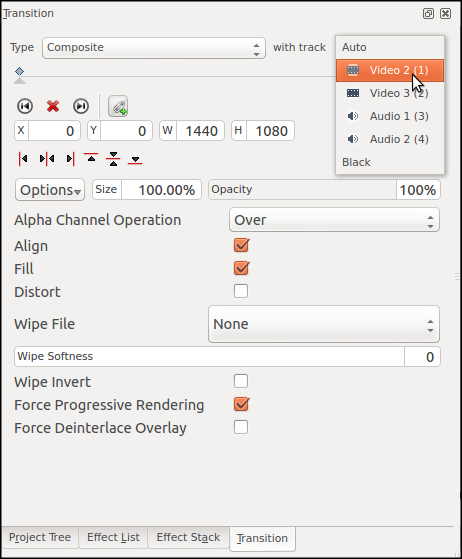
A Composite transition should appear automatically. The composite transition means that all transparent areas (for example, your title clip background) will allow footage from the adjoining/specified level to show through. In the diagram below, all the purple areas are visible. The composite transition is tied to track two, so both track one and two are visible.

You can set the composite effect to apply transparency down through many layers. For example here, where the composite effect is tied to track three.

Lastly, view the title in the project monitor and adjust the timing as needed. The text should stay on the screen long enough for you to read it through, out-loud, twice. It should look something like this:
 For the finishing tough, add a dissolve in and dissolve out to your title slide. This adds a subtlety and smoothness.