Adding a Post
The first thing to do when starting up a blog is to learn how to add a post. First you will need to log in, see other chapter for that instruction
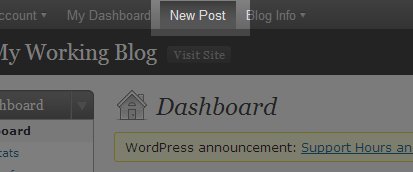
When you have signed in a tool bar should appear at the top of the screen. From this toolbar select the New Post option.
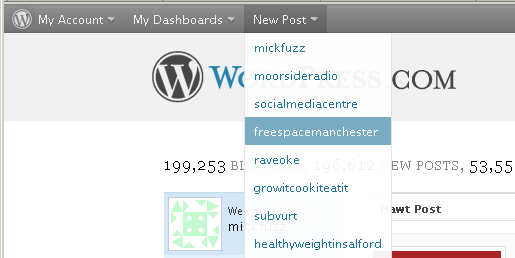
If you have signed up for more than one blog then they will be listed here in a drop down menu, as below. Select the blog which you want to make the post to.
The next stage of add your post is to enter a Title for the post and some text which is the main body of the blog post. Think of this part in the same way as sending an email. It really is as easy at that. The title is important, as it will act as a link to your post in some cases, so don't forget to fill that out.
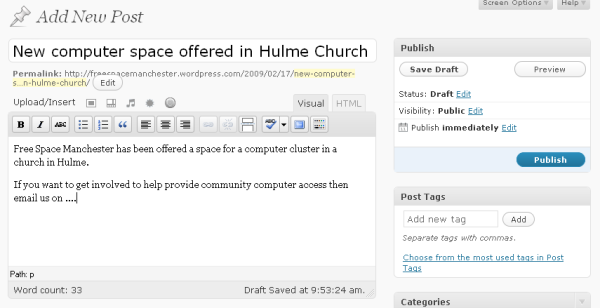
Then you should click in the large blank space and type the main body of what you want to post about. This space acts like a wordprocessor. There are some icons above that space which allow you to format the text. This is called a WYSIWYG editor, which stands for 'What you see is what you get'. In the example below we are highlighting some text and making it Bold.

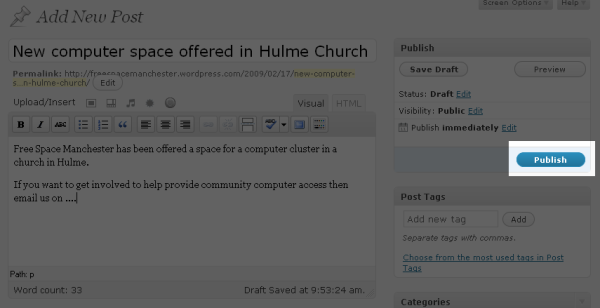
When you have finished writing your post then click on Publish. This will create an internet page which features your post.
If you want to see what your post looks like then you should click on the link that appears above what you have written which says View Post
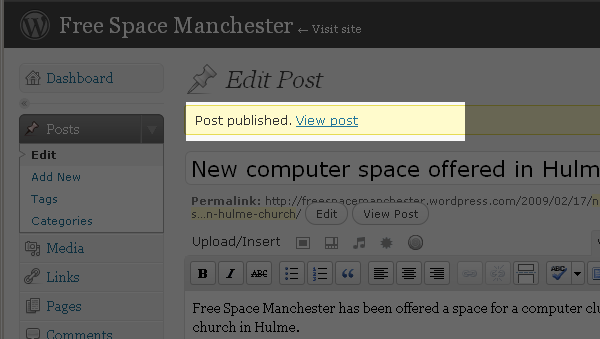
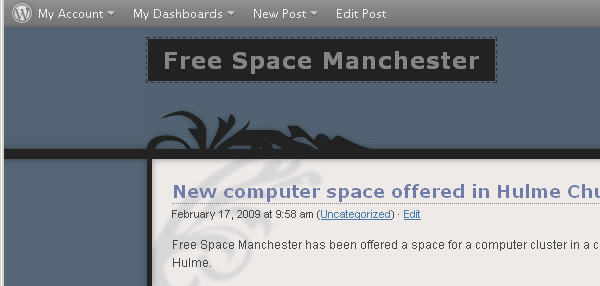
On clicking this link you will be taken to the internet page which features your blog post.
There are other chapters about how to add Links, and Images to the post using the WYSIWYG editor.


