Creating an Image Gallery
While working on this chapter this link is included as a useful reference. Wordpress Gallery FAQ
To create an image gallery you should upload your images for a gallery to a particular post or page.
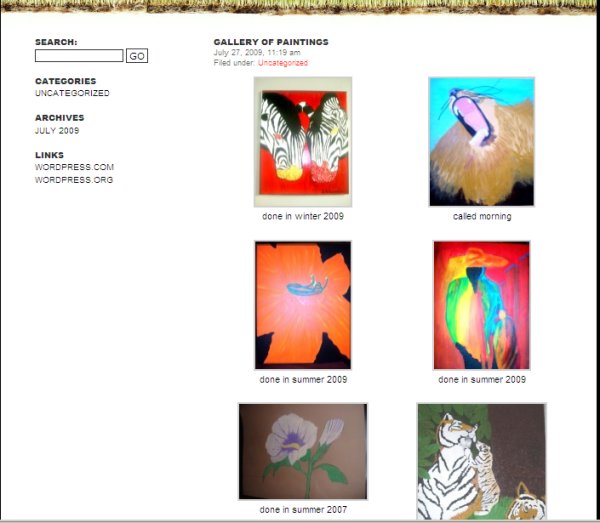
Wordpress allows you to create image galleries to insert into your posts and pages. You can add captions, decide how many images you want to display per row, and decide what happens when your visitors click on an image. A sample image gallery is shown below.

Creating a Gallery in posts
To create a gallery in a post you should bring up the Add Image dialogue box as if you were adding a single image to add your first image - see help in another chapter. One thing to realise is you can add more than one image at the same time.
If you do upload one image at a time, rather than clicking Insert Into Post you should click on 'Select Files' and repeat the process by browsing for another image.
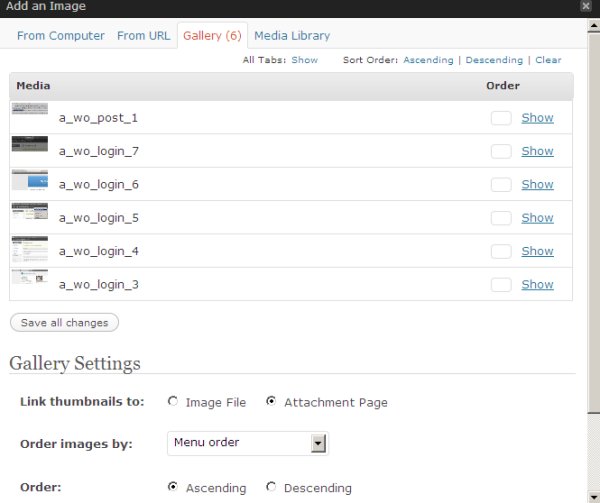
As you do this you will see the Gallery tab appear and a number will appear next to it. This shows that you are adding your images successfully
 .
.
When you have added all your images then click on to the Gallery tab. You will see all of your added images there.
When you see your image appear and get the chance to add a caption and description, by clicking on the Show link on the right of the screen.
Gallery Settings
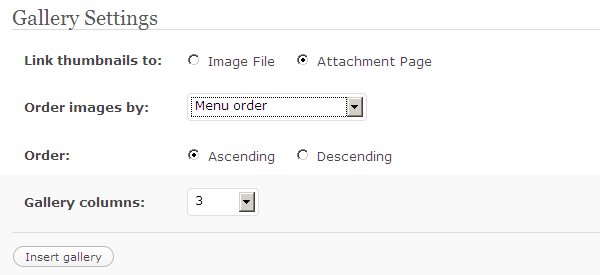
Under You now get options for adding your Gallery to this post. You can choose how many columns to display. This may depend on the theme you are using. You may want to experiment with this.

You can also choose if you want your visitors to see only the image itself when they click on it, or a page with the image within the look of your site. Experiment with both settings for a comparison. I would recommend keeping the Attachment Page setting as it makes it easier for your readers to navigate to different parts of the site.
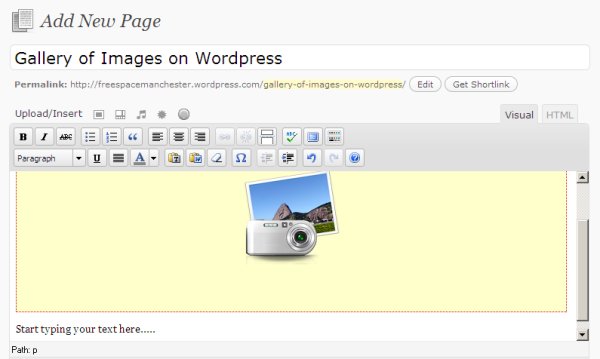
When you click on 'Insert Gallery' you should see a yellow block appear within the body of the post. If you want to add text to the post as well you should click after the yellow box and type there.

You should then click on 'Publish', and then 'View post' (see previous chapter for more details) to see the result of your image gallery, as show in the first image of this chapter.


