Podcasting PlugIn
When you have installed the Podcast Plug in which is available here - http://wordpress.org/extend/plugins/podcasting/ -
You can activate it from the Plugins page by clicking on Activate under the listing of the Pocasting Plugin by TSG.

Then you should navigate to its settings page to add some details about your plug in and where you want your audio player to appear on the page.
Configuring your Podcasting Settings
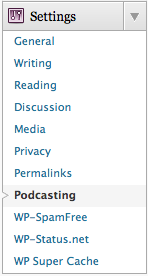
From your dashboard select Settings > Podcasting.
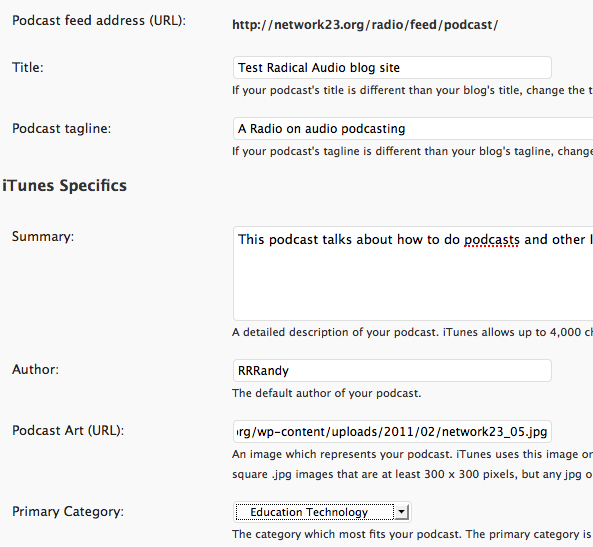
Then you can fill in the basic details about your podcast including its name, an associated image and so on.
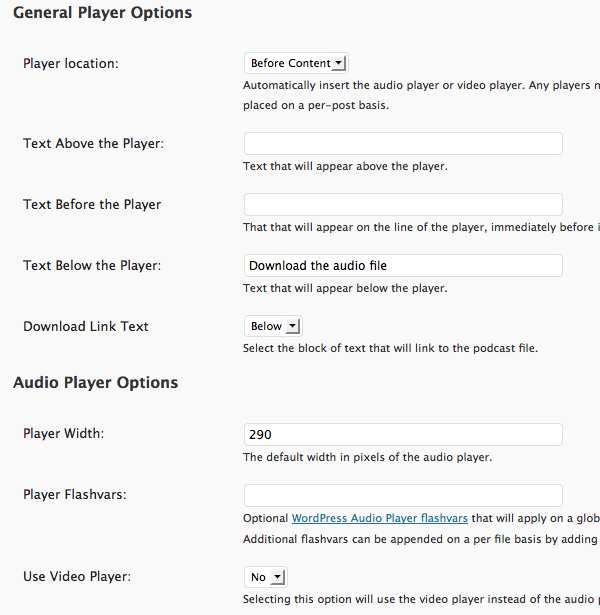
You can then set up how you want the audio player to look on your page. I use the following settings which work well for me. Try them out and alter them if you need to.
Player Location: Before Content
Text Below the Player: Download the audio file
Download Link Text: Below
Player width: 290
Use Video Player: no
Adding Audio to your page
To add an audio player to your page and include an audio file in your podcast you need to add the URL of your audio file to the Podcasting box at the bottom of your page when you Add a Post.
Navigate to your new post page in your usual way and look to the bottom of the middle of the page.
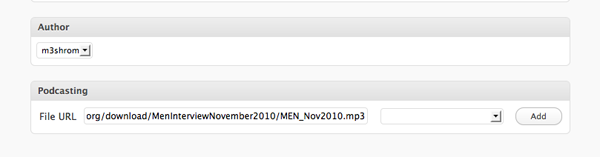
Enter the location of your mp3 file in the File URL box of the Podcasting section. Some Blogs will let you upload audio files, others may ask you to upload large files to other services like the Internet Archive (archive.org).
You can then add other information to the podcast by filling out the boxes that you are offered.
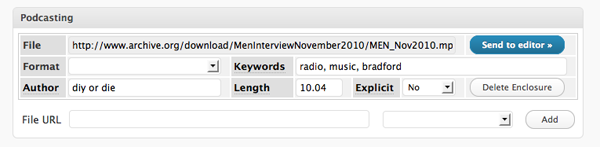
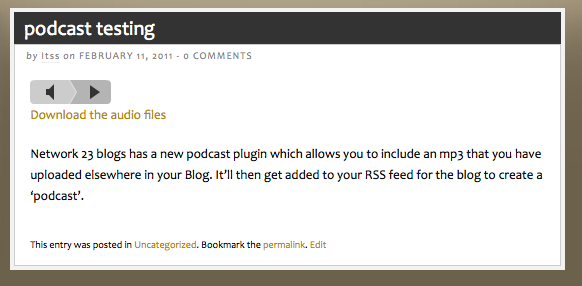
When you save the page you should see a result like the following.