


Hands-on: Video Projection Mapping
Little projection-mapping tool (LPMT) is an open source software based on OpenFrameworks, a C++ library, that enables video projection mapping to various surfaces and spaces. LPMT is a cross platform software which means it works on Linux, Mac OS and Windows machines.
The software enables various types of video and image manipulation and distortions which can be used for creative experimentation and production in the context of video installations. You will need a computer of standard capabilities, any video or data projector and a room in which you can control light for better projection results.
Below you will find a friendly step by step instruction on how to use LPMT to get you up to speed to make great projections.
Getting Started
Download and install LPMT in your computer from here: http://hv-a.com/lpmt/?page_id=9
Connect your computer to the video projector using a VGA cable.
Switch on the projector, then start your computer.
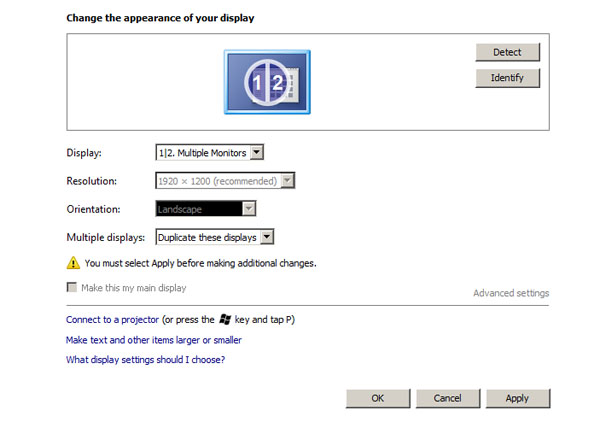
Duplicate your computer's display in order to see the same image on your computer's screen and on the projection.
LPMT Settings
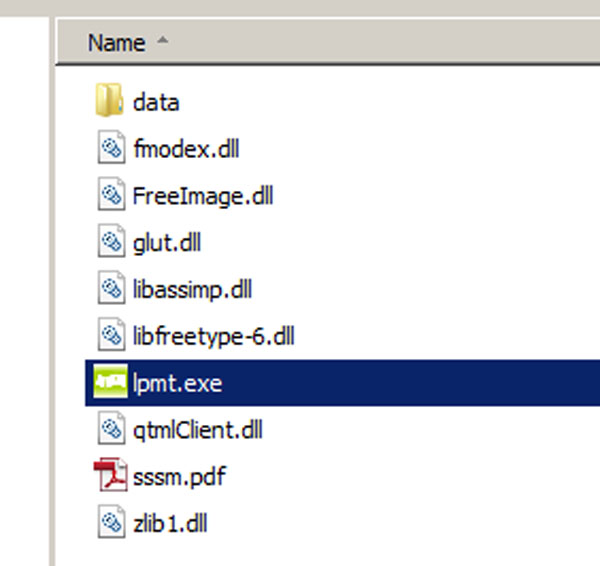
Open LPMT (Little Projection Mapping Toolkit).
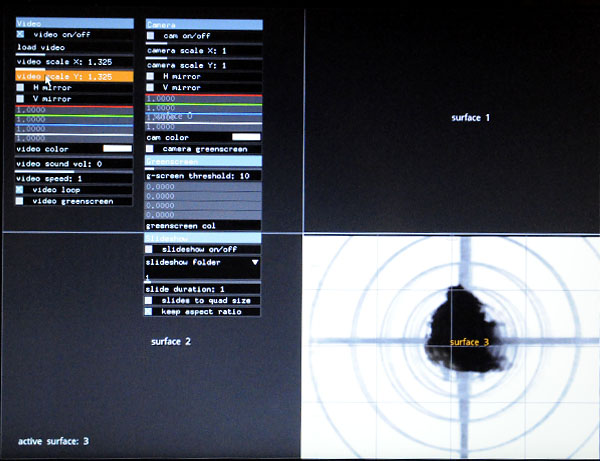
You should see the first page for Active QUAD settings.
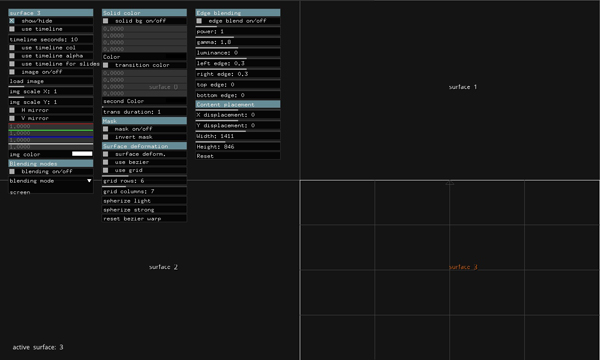
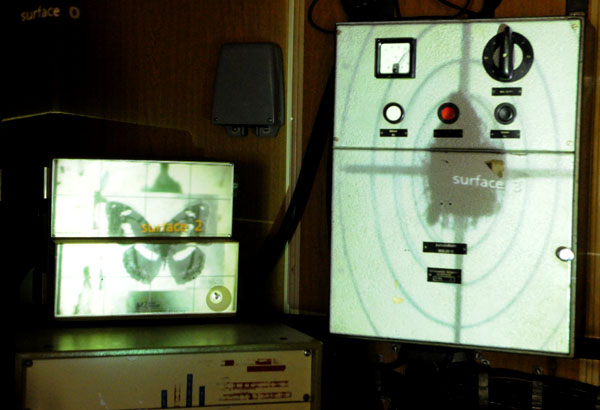
The screen is split into 4 surfaces, numbered 0 to 3. The selected surface is name on the top left hand corner of the screen and highlighted in orange.
Press F to go full screen.
Press X
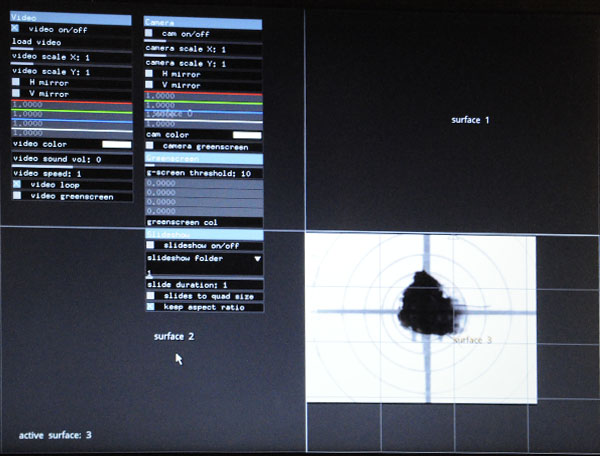
The Video and Camera menu will appear on the screen

Under the video menu left click on load video
*If you are in full screen while doing loading the video the software appears to crash. Exit the full screen before doing so.
Press F to come out of full screen, left click on load video, press F to go back into full screen.
Your video should appear on the highlighted surface – number 3 in this case.
If the video doesn't fill the QUAD as illustrated, left click on video scale from the video menu and move the cursor to resize the video in the quad.
LPMT Edit Mode
When you are happy with the scale press G to go into edit mode. The menu disappear when you do so.
Roll your mouse over the highlighted surface. As you roll over the corners of the surface will highlight in green.
Left click on one of the corners hold down and drag it.
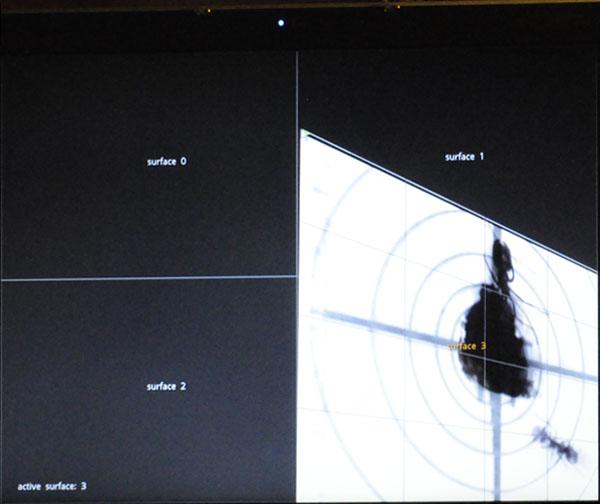
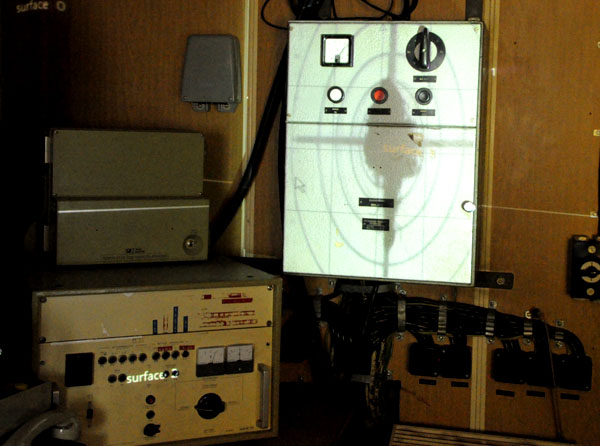
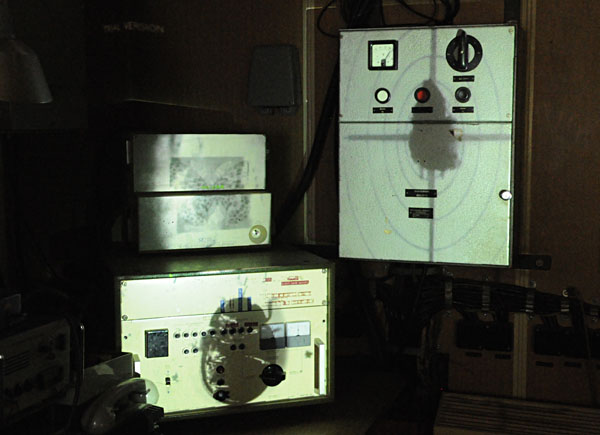
Looking at the projection drag the top left hand corner to the top left hand corner of the object you wish to map.
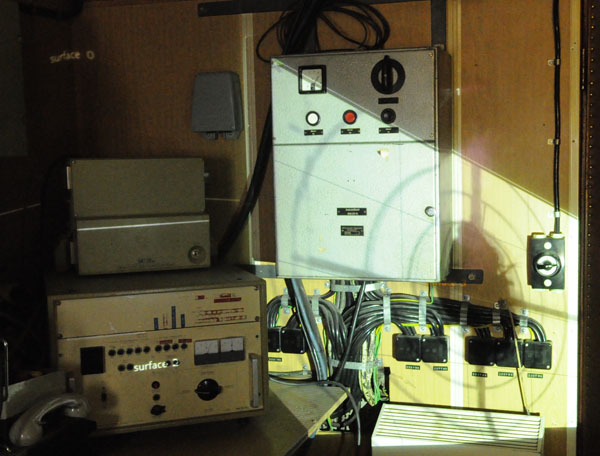
Repeat this step with the other for corners to map your object entirely.
Congratulations! You've just mapped your first object!
Press the space bar to show/hide the menus.
Select Surface 2 by entering Edit mode (press G) and double left click in the centre of it.
Press G to exit the edit mode/ enter the menus mode.
Exit full screen, press X and load the next video.
Repeat step 14 to 19 to map your second surface.
Using LPMT you can load up to 36 videos, so get yourself prepared and have fun!
LPMT Shortcuts
’s’ – saves settings to xml (projection_settings.xml in data folder)
‘l’ – loads settings from xml file
‘a’ – adds new quad
‘>’ – go to next quad
‘<’ – go to previous quad
‘+’ – raise active quad position in layers pile
‘-’ – lower active quad position in layers pile
‘z’ or ‘F1'– selects first gui page for active quad settings
‘x’ or ‘F2'– selects second gui page for active quad settings
‘c’ or ‘F3'– selects gui page for active quad corner position fine-tuning
‘q’ – fills window with active quad
‘spacebar’ – toggles projection/setup modes
‘g’ – toggles gui (for quad warping with mouse gui must be switched off)
‘f’ – toggles fullscreen mode
‘w’ – toggles cam snapshot window background
‘r’ – resyncs all videos and slideshows in all quads to starting point
‘1’ – shows general settings page of gui
‘p’ – start projectionf
‘o’ – stop projection
‘m’ – connects to a MostPixelsEver sync server
‘h’ – display help dialog
shift + w
m - in edit mode is mask setup
b in grid editing to edit masks